Finding furniture that matches the exact style and colors as the rest of your home is not always an easy task. Despite the many options provided by furniture manufacturers, many homeowners still end up with mismatched furniture in a variety of different colors, patterns, and finishes. The best way to subvert this hodgepodge of home decor is to take matters into your own hands. Painting your existing furniture is a great way to color match with the other pieces in your home. Not only does it help create a more cohesive appeal but it’s a far more cost-effective option than purchasing a slew of new pieces every time you want a change of pace. The basics of painting furniture are relatively simple, though the process does require a bit of preparation and attention to detail. This guide explores these steps, as well as several simple tips to ensure the finished product matches your original design vision.
Preparation
Preparing the furniture is perhaps the most tedious step in the entire process, but it’s an absolutely crucial starting point. Without the proper preparations, the painting process will be derailed, and the finished product will look anything but professional. Taking a bit of extra time with these preliminary steps will set the entire project up for success. Start by giving the piece a thorough cleaning. Wipe down any surfaces that will be painted and ensure that the whole piece is dust-free. Lingering dust particles will affect the application of the paint and may cause it to form small clumps or bubbles.
It is also at this stage that you should be on the lookout for any signs of damage. Any nicks, cracks, or holes in the furniture must be remedied before paint can be applied. Patch these holes with wood filler and leave it to dry before moving on to the next step in the process. If your furniture has any hardware, such as handles, hinges, or knobs, these should also be tended to before proceeding. If possible, remove the hardware completely. If this is not an option, you can also protect the hardware with a layer of painter’s tape.
Sanding
After the wood filler has dried, you can tackle sanding the piece. The type of wood, paint, and finish used on the paint will dictate the right sanding operations for the project. The new paint and finish you use on the furniture will also affect how much you will need to sand the piece. If you will be using a milk paint, for instance, you will not need to sand the piece nearly as much. If you need to remove the old finish completely, it’s best to begin with a coarser grit of sandpaper and slowly work your way toward a finer grit. This helps achieve a smoother finish overall. Be sure to take your time while sanding. Pressing too hard or too lightly will cause undesirable dips in the surface of the furniture, which will show through after the piece is painted. After you’ve finished sanding, you will need to clean the item one more time. Sawdust poses the same threat as regular dust and can cause the paint to clump up. Wipe the entire piece down with a wet rag in order to avoid this mishap as much as possible.
Paint selection
The paint you choose will depend largely on the type of finish you hope to achieve. Whether matte, satin, or semi-gloss, you can rest assured that there will be a paint swatch to match your needs. Durability and longevity are also factors you will need to consider when choosing the right paint for your project. Fusion mineral furniture paint provides the perfect compromise for all of these factors. This type of paint is highly durable and easy to apply, making it the right choice for any DIY project. It’s also offered in a variety of different colors, which will make restoring your favorite furniture items to their former glory a fun and easy task.
Priming
Depending on the type of paint you decide to use, priming may or may not be necessary. If it is necessary, however, it’s important that you afford the same amount of care and attention to detail that you would with any other type of paint. If the primer is not applied evenly, the final coats of paint will also be uneven. Primer is most necessary for furniture that was previously painted or stained a very dark hue or that will be painted in a much lighter tone. If the piece was previously lacquered, it may also benefit from a quick coat of primer. Some primer is even available in a spray can, though you will need to be even more careful in this application process.
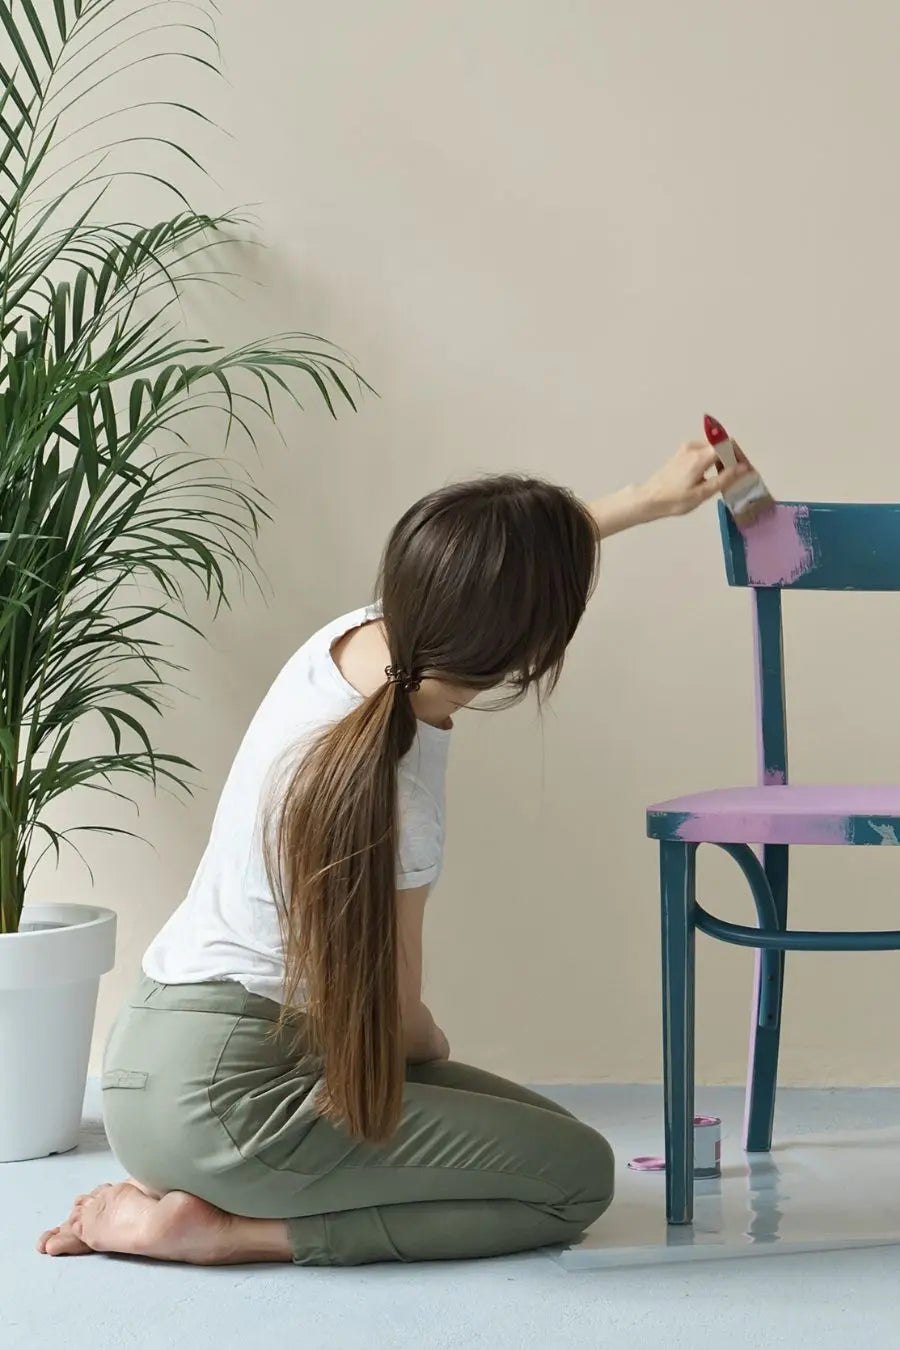
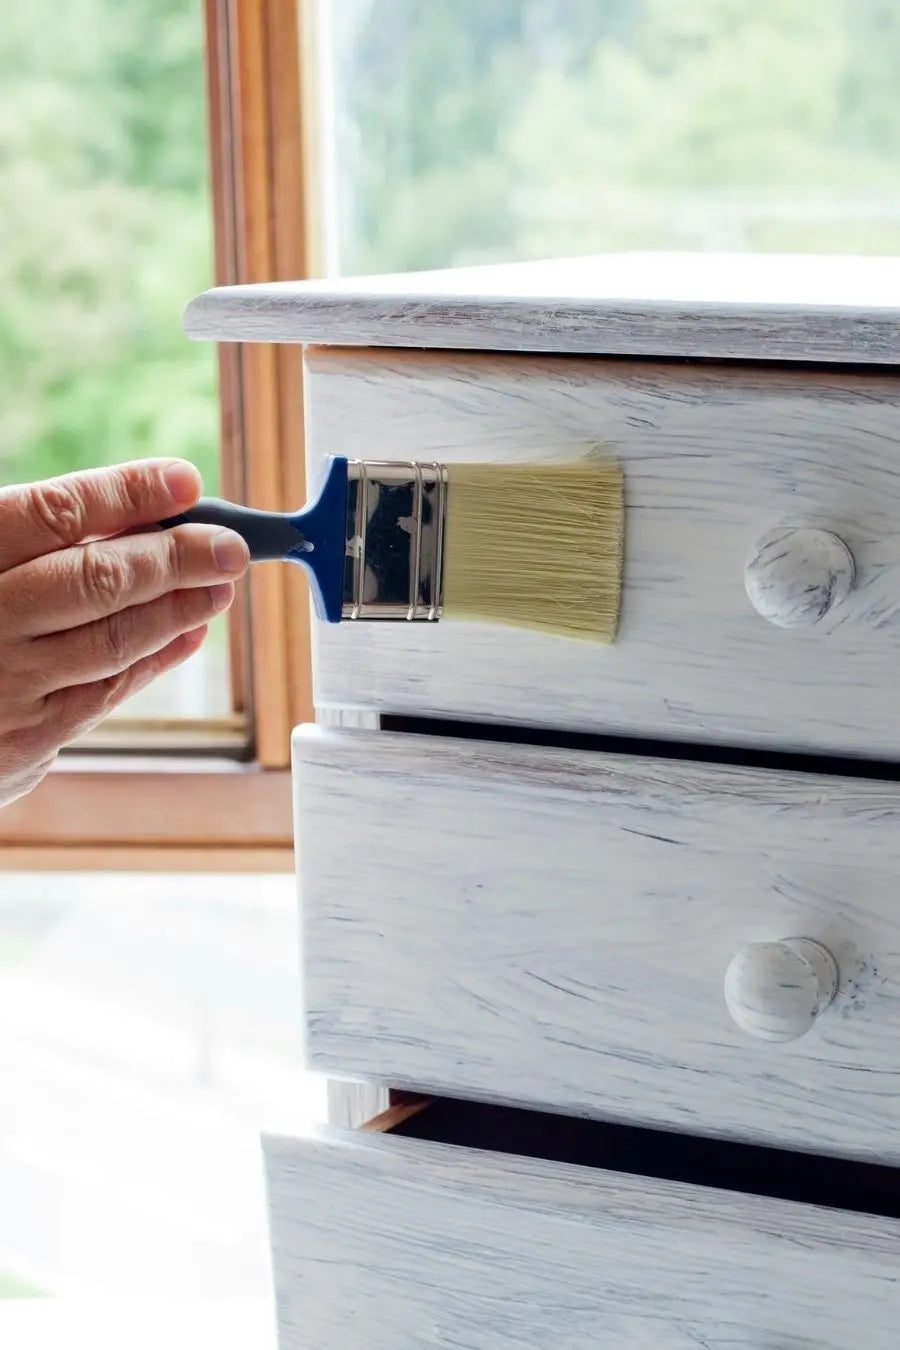
Painting
With all the preliminary steps of the basics of painting furniture out of the way, it’s finally time to move onto the fun part: painting! As with priming, you will need to be quite careful when painting your furniture. An uneven coat of paint may not seem like a problem at first, but when the light hits your piece, all those little imperfections will become plain as day. The materials you use to paint your project may vary depending on the type of furniture at hand. Larger pieces, such as cabinets, tables, or dressers, are often better suited to paint rollers. This allows you to cover their large surfaces quickly and evenly. Smaller pieces or items with a lot of detail are best treated with a hand brush. Be sure to keep a keen eye out for any drips if you are using a hand brush. Nip any drips in the bud as soon as possible to keep them from drying and ruining the finish of the entire affair.
Finishing up
In the final stretch of your painting project, it’s time to tidy up loose ends and get ready to show off your finished product. Depending on the type of furniture, you may consider spraying the entire project with a protective clear coat. This is very beneficial for items with drawers or doors that will be used regularly. It will keep chips, cracks, and dirt at bay so your project can look like new for many years to come. Hardware can be cleaned and reinstalled, and fabric can be spruced up at this point as well.